Hi, I'm Luis Johnson, an automobile technician, and power equipment professional. By profession, I'm a businessman and operate a car workshop. I have created this...Read more
Driving on the open road is always more enjoyable when you have a car stereo in the car, which probably isn’t that difficult to install. But what happens when you want to test your new stereo system before installing it? That’s when wiring it to a 12v battery comes in handy.
So how to wire a car stereo to a 12v battery? The key to this is connecting the battery’s terminals to that of the stereo using appropriate connectors and cables. Connecting cables successfully will depend on how well you understand the cables before routing them.
Let’s go over the details of hooking up a car stereo to a 12V battery along with the essential troubleshooting tips.
How to Wire a Car Stereo to a 12V Battery?
The process of attaching a car stereo to a 12V battery is fairly straightforward, and it will be even easier with a few basic tools. Wire strippers, screwdrivers, wire harnesses, panel removers, and tape will all be necessary.
In addition, a fuse should be used when directly powering the stereo. If an electrical error occurs, your radio will be protected from damage. But you must ensure that your fuse’s rating equals the one on your stereo’s back.
Also, be sure to check the radio’s amperage rating if it is an OEM stereo before getting started with the following steps.
Step 1: Examine the Wires
You often get separate stereo wires with your audio system. Additionally, it can occasionally be challenging to ascertain each wire’s function. So, the very first step is to examine all the wires and determine their functions to make things easier.
At this point, you are looking for the battery’s positive, the ground wire, and the accessory’s positive. The accessory is what allows you to turn on your stereo without the engine being on. There may already be a wire in place for this in some circumstances.
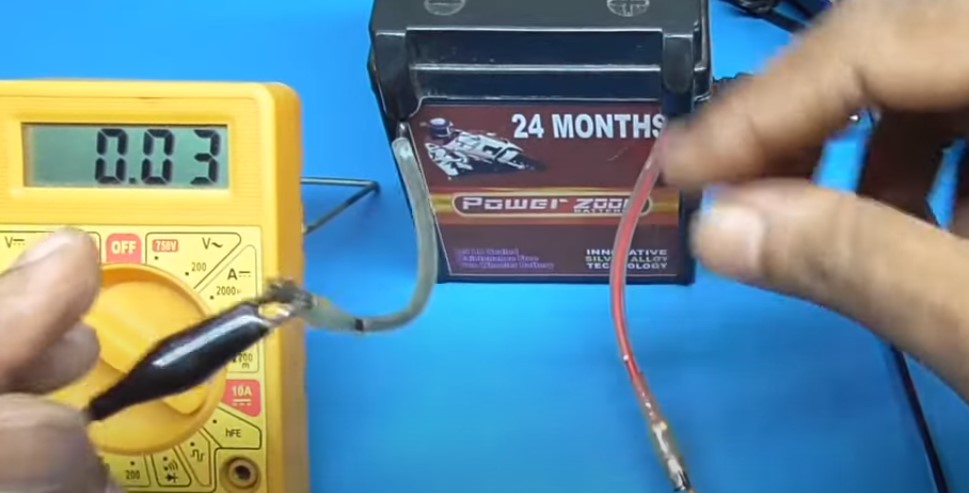
While test lights and multimeters can make your work easier, using a wiring adaptor will make it easier to connect the radio to the clip of your vehicle.


You can also take note of the standard wire colors and their purpose. Energy and memory are usually represented by yellow and red, while the ground is represented by black.
Step 2: Examine the Terminals
The metallic terminals above the battery are where you will start connecting the wires. While using a wrench to loosen or tighten these terminals (if necessary) you must be careful not to create vibrations, which can disrupt the connection.

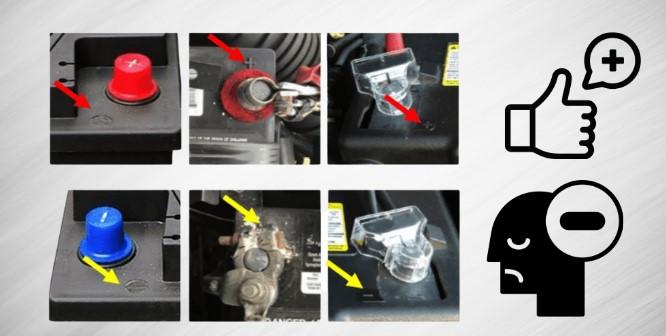
Your battery’s positive terminal should be on the right, marked with a “+” sign, with the negative on the left and marked with a “-” sign. You will also see a small post on the side of the battery. You will be securing the ground wire here.
Step 3: Connect the Wires
Associated with the positive terminal are the red and yellow wires of the audio system. The red one is for memory, and the yellow one is for power. The first thing you want to do is strip the wires, take the positive wire coming from the stereo, and put a small loop in it.

After that, The positive terminal of the battery will receive the opposite end of the wire, which you will attach there. Then take the ground wire (black) and make a small loop in it as well. The wire’s other end will be attached to the small post just next to the negative terminal.

Finally, it’s the turn for the accessory wire (it will be blue or white). The other end of this wire will be placed on the accessory terminal, which is usually found next to the battery’s positive terminal.
Step 4: Connect the Stereo to the Speakers
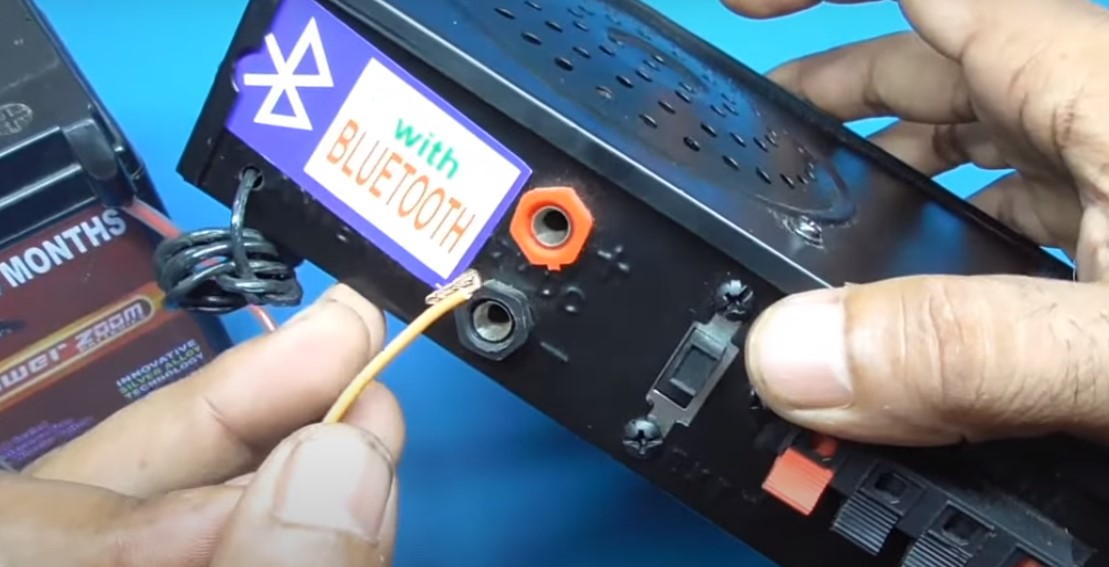
Now that your stereo is connected to the battery, it’s time to connect it to the speakers. The speaker wire is made of two conductors that are twisted together. Its positive side is often red or white, while the negative is black or green.
The wire should be stripped at both ends, then twisted together. After that, you will need to twist the other end of the wire around the terminals on the back of the stereo. The left speaker is typically denoted by a negative sign (-), while a positive sign denotes the right speaker (+).
The procedure will be significantly simpler if you’re utilizing a wiring harness or adaptor. All you need to do is connect the wires from the adaptor to the back of the stereo, and then connect the other end of the adaptor to the speakers.
Step 5: Secure the Connections
The last step is to secure all the connections you have made. You can use electric tape after twisting the connected ends or use wire nuts for this purpose. Soldering the wires is the best option as it will provide a stronger connection, but it’s not necessary.
After that, you can go ahead and test your stereo to see if it’s working properly. If everything is in order, then you can put your car’s paneling back and enjoy your new stereo!
Troubleshooting Tips in Case Something Goes Wrong
Even if you’re careful, there’s always a chance that something could go wrong when wiring your stereo to a 12v battery. Here are some troubleshooting suggestions that could be useful if you encounter any issues.
- When the battery isn’t fully charged, the stereo may not turn on or the sound might be weak. In this situation, you will need to either plug it into an external power source or charge the battery.
- If your stereo still doesn’t turn on, make sure that all the wires are properly connected and that the fuse is not blown.
- Check the speakers’ wiring for breaks and make sure the volume is turned up if there is no sound coming from them.
- If the sound is distorted, check to determine if the ground wire is connected correctly.
- The battery may be running short of power if your stereo keeps shutting off. So again, you will need to charge the battery.
Frequently Asked Questions
Below, we have answered some of the most frequently asked questions about wiring a car stereo to a 12v battery.
Can I Connect My Stereo To The 12v Battery Using An Extension Cord?
No, An extension cord should never be used for this. This is so because car audio takes a lot of power, which extension cords are not built to handle. Additionally, if you use one, it can overheat and catch fire.
Can I Use Any 12v Battery With My Car Stereo?
No, you shouldn’t. You will need to use a deep-cycle car battery, which is specifically designed for this type of purpose. Using a regular 12v battery like that for a UPS will not have the required capacity to power your stereo for a minimum amount of time.
Can I Connect The Alternator Straight To My Car Stereo?
No, you should never wire your stereo directly to the alternator. The alternator can produce high voltages that could damage your stereo. Instead, you should wire it to the battery, which will then be charged by the alternator.
How Long Can I Use My Car Stereo With A 12v Battery?
It is based on the battery’s capacity. A deep-cycle battery can usually power a car stereo for up to six hours. But you should know that the more feature-rich your stereo is, the more power it will require, and so the shorter the battery life will be.
Where Should I Use An Additional Fuse For Connecting My Car Stereo To A 12v Battery?
Most stereos come with a built-in fuse. However, you can use an extra fuse if yours doesn’t or if you want to be extra safe. This fuse should be placed between the positive terminal on the battery and the positive wire going to the stereo.
Conclusion
So, there you have it; your complete guide to wiring your car stereo to a 12V battery. As you can see, there’s nothing to be intimidated by the prospect.
You can quickly create the required connections and run any cables you might need if you have the correct equipment. And remember, while the battery may spark when connecting the wires to its terminals, you should never worry about it.
This only indicates that the connection is good. However, if the sparks are accompanied by smoke or flames, something is seriously wrong, and you should stop right away.

Hi, I'm Luis Johnson, an automobile technician, and power equipment professional. By profession, I'm a businessman and operate a car workshop. I have created this site Batteryquery to help people purchase the right battery for their vehicles. The reason behind creating this site is to help my customers purchase the right car battery who often purchase the wrong one due to their lack of knowledge.
More Posts